Trending Finds Readers Are Loving
Explore affordable luxe discoveries people are clicking on right now.
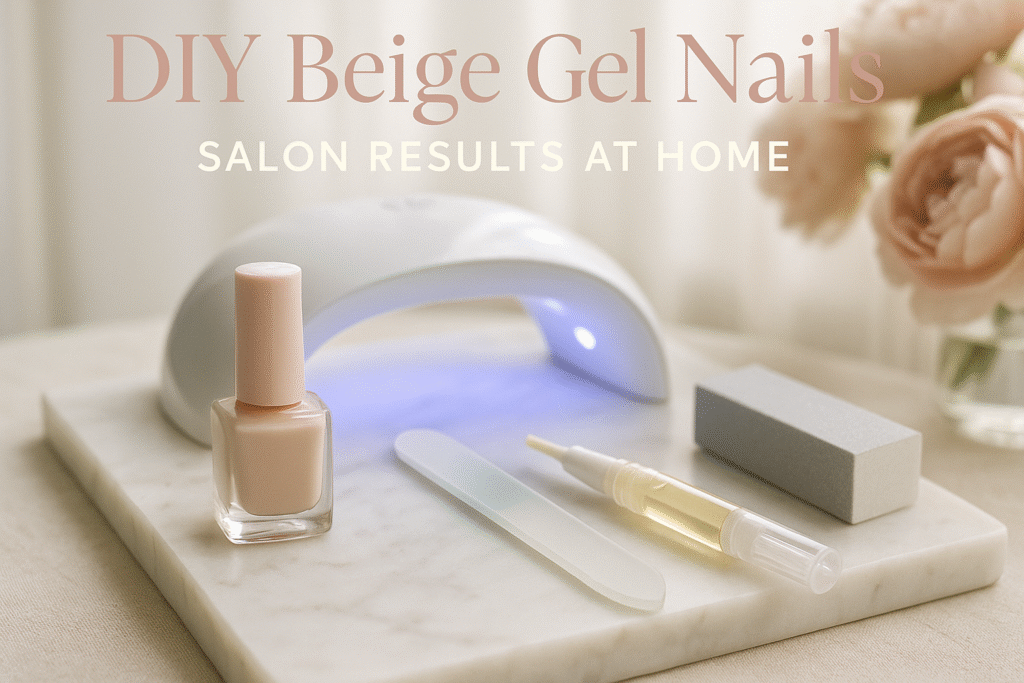
See What's TrendingMilky beige gel nails feel effortlessly chic and upscale, but you don’t need to go to a salon to create a flawless set. In this step‑by‑step DIY guide, you’ll learn how to get soft, luminous beige nails that last weeks—all from the comfort of home. First, we’ll walk through choosing quality tools and kits that deliver salon-level results. Then we’ll dive into a professional-like prep routine, precise self-application, and curing techniques that minimize lifting and chipping. You’ll discover tips for at-home touch-ups using nail dehydrator pads, LED lamp, and layering with no-wipe matte or glossy top coats. From almond to squoval shape, this guide shows you how to tailor your milky beige look to your style. Plus, we’ll cover budget-friendly Amazon nail tools and must-have finishing oils that add shine. If you’re ready for manicure-level nails without breaking the bank, this guide is for you—ready for your best DIY manicure yet.
Step 1: Choose the Right Gel Kit & Shade
Selecting a quality gel kit sets the foundation. Look for a kit that includes a durable LED nail lamp, gentle acid‑free primer, and a base/top coat combo. Don’t overlook nail-prep items: dehydrator pads remove oils before polish, helping the gel adhere. When choosing your milky beige shade, go sheer if you want an understated nude, or rich for a full-coverage look. Brands with neutral palettes offer timeless, salon-inspired tones—perfect for achieving a customized manicure at home.
Step 2: Prep Your Natural Nails Like a Pro
Salon-style prep makes all the difference. Start by shaping your nails using a fine-grit glass nail file, then push back cuticles and gently buff with a buffer block. Wipe nails clean with isopropyl alcohol wipes, then apply dehydrator pads. Skip oil or lotion before curing starts—that’s for after. Assuming your nails are lightly roughened and sapped of debris, they’ll retain polish longer and feel salon-fresh.
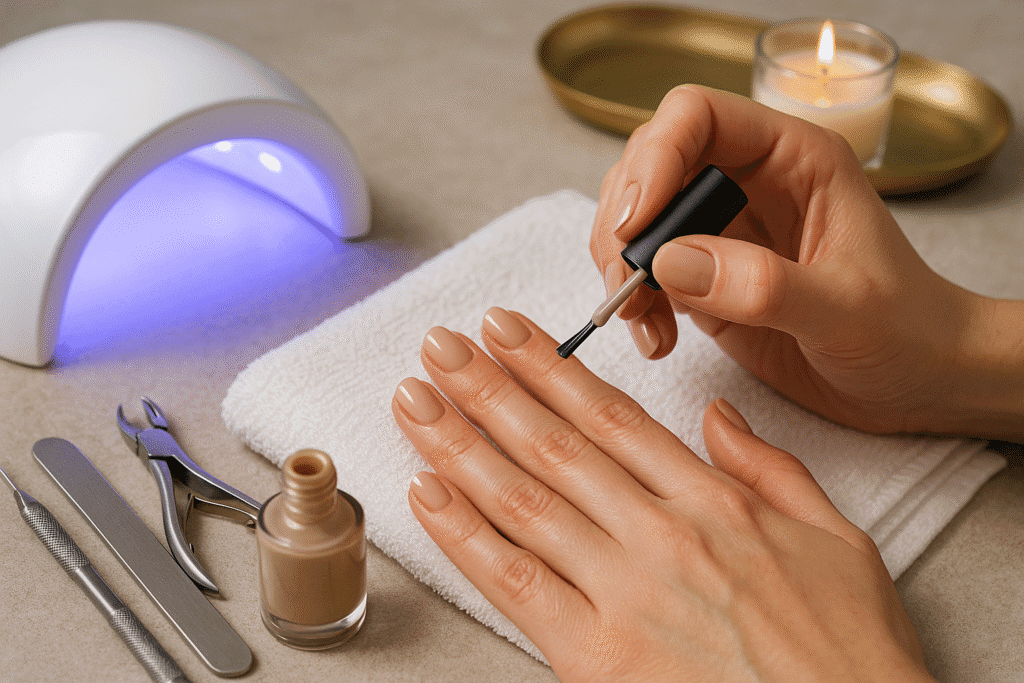
Step 3: Layering the Milky Beige Gel Polish
Apply a thin base coat and cure under the lamp (~60 seconds). Then paint two coats of your milky beige gel polish. Thin, even layers help prevent cuticle flooding and dome formation. Cure each layer. Once the second coat is cured, apply a high-gloss or matte top coat. If choosing matte, a no‑wipe top coat gives a velvety finish that still looks professionally done. Pro tip: use a lint-free wipe with alcohol to remove tacky residue before top-coating.
Step 4: Add Subtle DIY Nail Art
Elevate your milky beige manicure using small accents. Press a micro gold stud into wet top coat for a touch of glam. Apply foil flakes or delicate, hand-painted linework with polish pens—ideal for matching jewelry or moodboards. Cure again after each embellishment to seal them. With minimal tools, you can create salon-level accent nails that bring personality without a full salon visit.
Step 5: Maintain Your Manicure for Weeks
Extend your gel manicure’s life with light daily maintenance. Gently moisturize cuticles with cuticle oil pens. Avoid heavy cleaning without gloves. If lifting occurs at the edges, carefully clip off the gel tip and reapply a fresh coat to extend wear. With basic upkeep, most gel manicures endure 3–4 weeks—saving you salon trips and money over time.
Step 6: Remove Gel Safely When Ready
When it’s time for a fresh set, skip peeling. Instead, file the top layer lightly and soak in an acetone gel remover soaked in foil wraps (~10 minutes). Gently push off residue with a wooden stick and buff with a soft buffer. Finish with cuticle oil to restore nail hydration. Your natural nails will be smooth and ready for the next manicure.

Step 7: Create a Spa-Style Home Manicure Station
Finally, set up a dedicated station to perfect your sessions. A countertop organizer with compartments for polish and tools keeps things orderly. Include a silicone tool mat (easy cleaning), a color wheel for test shades, and an angled desk lamp for polish visibility. A foldable LED lamp makes it portable for mobile manicures or travel. A tidy station transforms nail work into a mini spa ritual—perfect for pampering or small gifting.
Conclusion
DIYing milky beige gel nails gives you salon-quality style without the expense. From proper prep to polished finish, each step ensures professional results. With minimal tools and a little practice, you can master your own manicure appointments—and save money along the way. For more nail inspiration and easy gloss hacks, check out our article on Quick Dry Time Secrets on Bellencia.com.