Trending Finds Readers Are Loving
Explore affordable luxe discoveries people are clicking on right now.
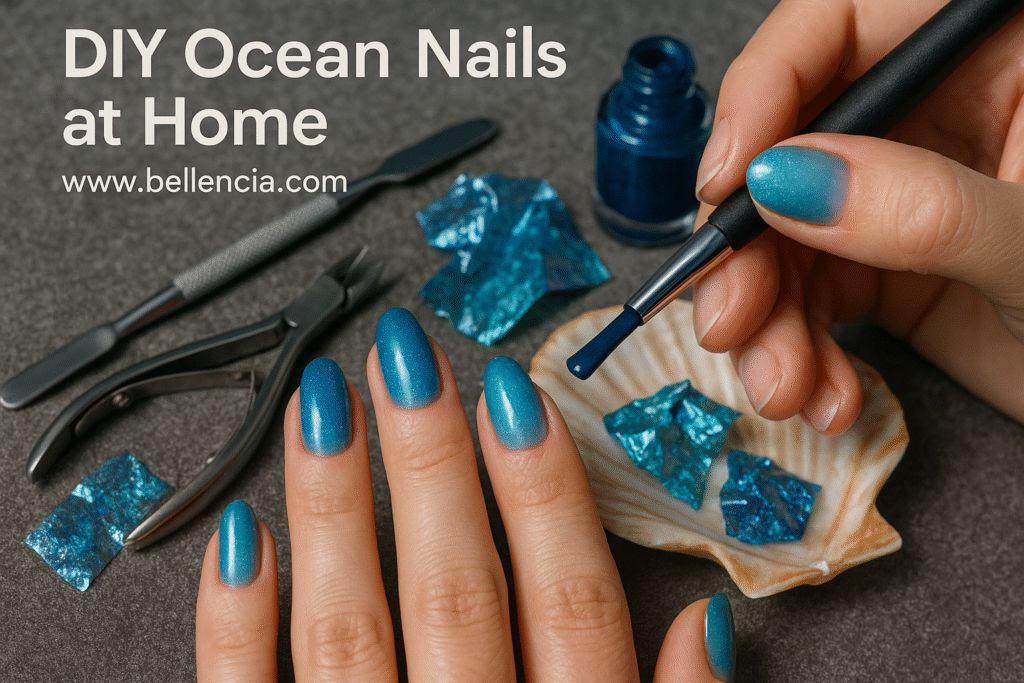
See What's TrendingReady to turn your fingertips into a tiny ocean escape? Blue sea nails are one of my favorite summer looks—fresh, serene, and full of shimmer. If you’ve been eyeing this dreamy design on Pinterest, I’ve got great news: you can absolutely DIY it at home. I’m walking you through each step, including color layering, nail art techniques, and finishing flourishes that feel straight from the sea. This isn’t just a manicure—it’s a mini moment of self-care with serious style pay-off. Whether you’re new to nail art or just looking for a fresh seasonal look, this guide will walk you through every sea-swept detail.
Spotlight on the Look — The Blue Sea Effect
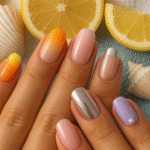
What makes blue sea nails so captivating? It’s the way they mimic the shimmer and depth of the ocean—layered blues, jelly finishes, and touches of glimmer that dance with light. These nails take inspiration from aquamarine tidepools, glistening coral reefs, and the tranquil gradient of sea meeting sky. Nail artists are blending finishes, hues, and micro-glitter to give dimension and movement—so when your hand catches the light, it tells a tiny story of the sea.

This trend has been building over the last two seasons thanks to mermaidcore aesthetics and an overall rise in aquatic influence across beauty and fashion. What sets blue sea nails apart from standard summer manis is the versatility: you can go sheer and subtle, or bold and full-on fantasy. They’re equally fitting for beach vacations, weekend weddings, or just elevating your day-to-day with a moment of calm. And once you learn the technique, you’ll want to reinvent it again and again with your own twist.
When to Try This Look
This look shines in summer, but its versatility makes it a year-round favorite. In the spring, opt for milky aquas and translucent jelly shades that echo the freshness of the season. During hot summer months, play with bolder hues like turquoise, teal, or seafoam—ideal for poolside lounging and summer soirées. Come fall, a dusty blue base with matte topcoat channels coastal fog and sweater weather. And in winter, go icy: think glacial blues and iridescent finishes that sparkle like frozen sea spray.
Beyond seasonal flexibility, blue sea nails are great for all kinds of occasions. Hosting a beach-themed bridal shower? This manicure is your perfect match. Planning a solo staycation? Create an at-home spa vibe and treat yourself to a full set. Even for casual weekends, a sheer shimmer wash in aquatic tones makes a statement without overwhelming your look. And because this style works beautifully on all nail lengths and shapes, it’s accessible no matter where you are in your nail journey.

What You’ll Need
- Base coat + glossy top coat (preferably gel or quick-dry)
- Two to three ocean-inspired polishes: baby blue, teal, navy, or sea glass green
- Glitter topper, shimmer chrome powder, or iridescent flakes
- Makeup sponge for gradient blending
- Flat nail art brush and small glass dish of acetone
- Optional: gold foil pieces, seashell or starfish nail stickers
- Cuticle oil, hand balm, and soft cloth for cleanup

Optional: UV lamp and gel polish system if you prefer longer-lasting wear.
Step-by-Step Tutorial
- Prep Your Nails: File and shape your nails to your preferred length. Gently buff the surface and push back cuticles. Wash your hands to remove oils, then apply your base coat evenly across all nails.
- Apply Your Base Color: Choose the lightest of your selected ocean tones—such as a milky baby blue or soft turquoise. Apply one or two coats and let dry completely. This will act as the background of your sea-inspired look.
- Create the Gradient: Dab two colors onto a damp makeup sponge—typically the base plus a mid or deeper blue. Gently tap from mid-nail to tip, layering as needed. Repeat until you achieve a soft gradient, letting each layer dry slightly before the next.

- Shimmer and Shine: Apply a shimmer polish or tap chrome powder to the midsection of the nail using your finger or a silicone tool. This creates a gleaming effect reminiscent of sunlight on water. Iridescent flakes or glitter polish also work beautifully here.
- Add Nail Art (Optional): For a little extra flair, press small pieces of gold foil or stick on ocean-themed decals—think seahorses, pearls, or sea stars. Use tweezers for precision, and place them while the polish is still slightly tacky.
- Seal It All In: Once dry, apply a thick top coat to seal the design and add a glossy, glassy finish. Be sure to cap the tips of your nails to prevent chipping. Clean up any polish around the edges using a brush dipped in acetone.
- Finish and Hydrate: Apply cuticle oil around each nail, massage in, then finish with a rich hand cream. For an extra treat, wrap hands in a warm towel for 5 minutes after application.
Elevate the Experience
Turning your DIY manicure into a full sensory experience makes it more relaxing and rewarding. Before you begin, light a candle that evokes the sea—I love the Ocean Mist & Sea Salt for its soft tropical scent, or the Jo Malone Wood Sage & Sea Salt for something more mineral and crisp. Put on a playlist of ambient wave sounds or chilled summer beats to set the mood.

Set your space with intention: a ceramic dish for tools, a linen towel for comfort, and a chilled drink within reach (cucumber water, anyone?). As you paint, slow down and enjoy the ritual. Let each step be a moment to breathe, reflect, and admire your handiwork. Once your nails are dry, you’ll not only have a gorgeous oceanic mani—you’ll have experienced a mini vacation, no passport required.
Conclusion
Blue sea nails are more than a manicure—they’re a mood. With their blend of tranquil tones and luminous texture, they bring summer serenity to your fingertips. And now that you have the tools, steps, and styling tips, you can recreate the look any time you need a dose of coastal calm. Whether you keep it soft and simple or go full glam with foil and charm, your ocean nails will reflect your creativity and care. Don’t forget to share your results—I’d love to see how your take on the blue sea nail trend turns out!