
Chic Pantry Labels You Can Make at Home (With Free Templates)
November 27, 2025
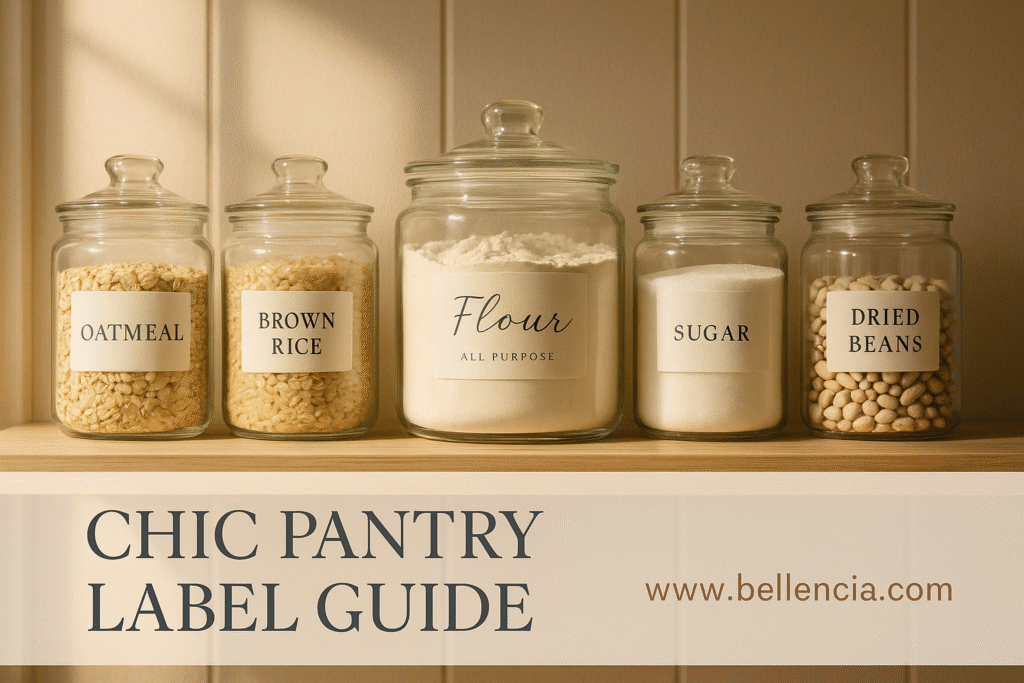
Introduction: Why Pantry Labels Are a Game-Changer
Trending Finds Readers Are Loving
Explore affordable luxe discoveries people are clicking on right now.
See What's TrendingA well-labeled pantry isn’t just a Pinterest-worthy flex — it’s a game-changer for your home routine. Chic pantry labels help you find what you need faster, reduce food waste, and make your shelves feel like a curated boutique. Whether you’re organizing on a budget or simply craving some clean-girl kitchen vibes, custom pantry labels are the little detail that elevates your entire space. The best part? You don’t need a Cricut machine or design degree to create them. With a few easy tools (and some free templates you can download), you’ll be labeling like a lifestyle influencer in no time.
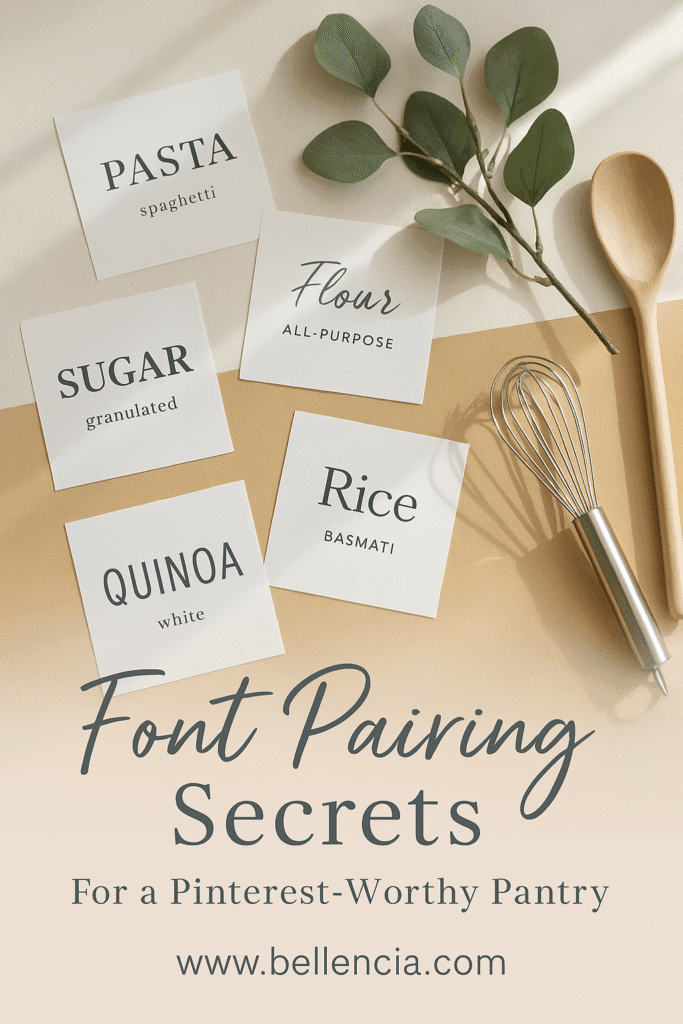
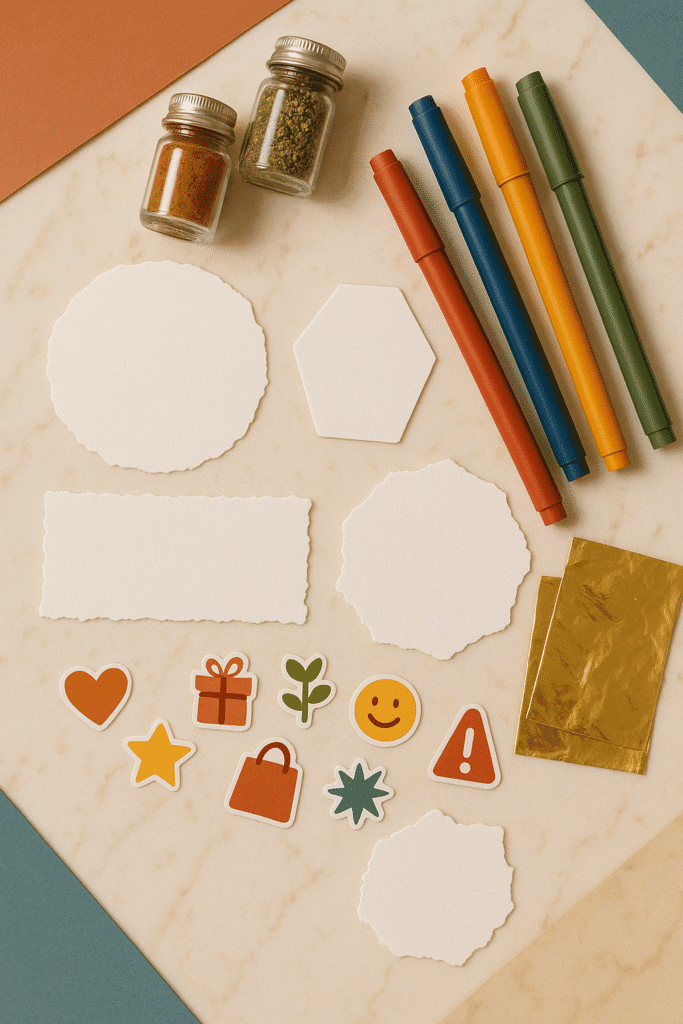
1. Choose a Label Style That Matches Your Kitchen Aesthetic
Before you print or design anything, consider the overall vibe of your kitchen or pantry. Are you going for warm rustic tones, clean minimalism, boho farmhouse, or modern glam? Your pantry labels should visually support that theme.
- For a farmhouse or rustic kitchen, try kraft paper or beige textured labels with typewriter-style fonts.
- For modern minimalist homes, clear labels with black sans-serif text or white-on-clear sticker designs give a sleek, no-clutter look.
- For glam or luxe kitchens, gold foil fonts, soft blush backgrounds, or calligraphy scripts add that extra designer edge.
💡 Pro tip: Stick to one font family or layout for a cohesive look. Even if your containers vary, your labels can tie everything together.
Price: 0.00
Shop Similar:Chic Pantry Label Templates – a must-have featured in this post.
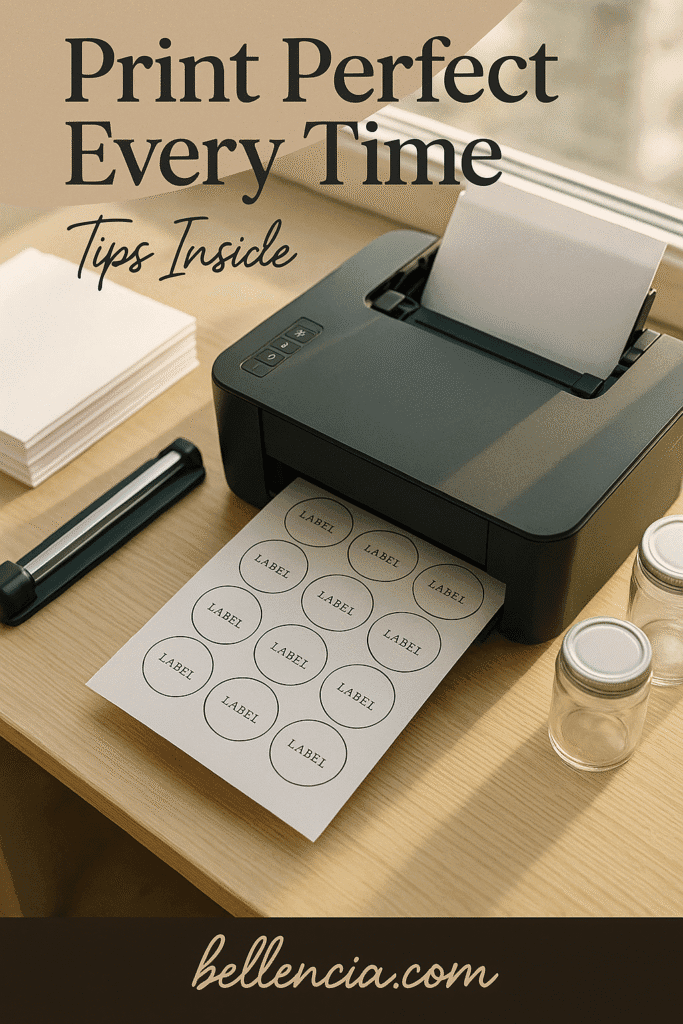
2. Print at Home or Use Pre-Cut Label Paper for a Professional Finish
You don’t need fancy equipment to get pro-level results. Standard home printers paired with the right label paper will do the trick. Here are your best options:
- Pre-cut sticker paper (Avery or online brands) with rounded or square labels.
- Full-sheet sticker paper you can cut yourself with scissors or a paper trimmer.
- Clear printable labels if you’re aiming for the “floating text” look on glass jars or plastic bins.
Use waterproof or smudge-proof paper if you’re labeling items that may be touched often (like flour, rice, or coffee canisters).
3. Get Creative with Label Types — Go Beyond Just Names
Your labels don’t have to stop at “sugar” and “oats.” You can layer in personality and function with these ideas:
- Expiration date labels on the back of the jar (great for bulk items).
- Cooking instructions or ratios, like “1 cup rice + 2 cups water.”
- Color-coded borders to distinguish between baking vs. snack items.
Want to get really extra? Add barcodes for scanning into a pantry inventory app — or add matching mini labels to your refill containers.
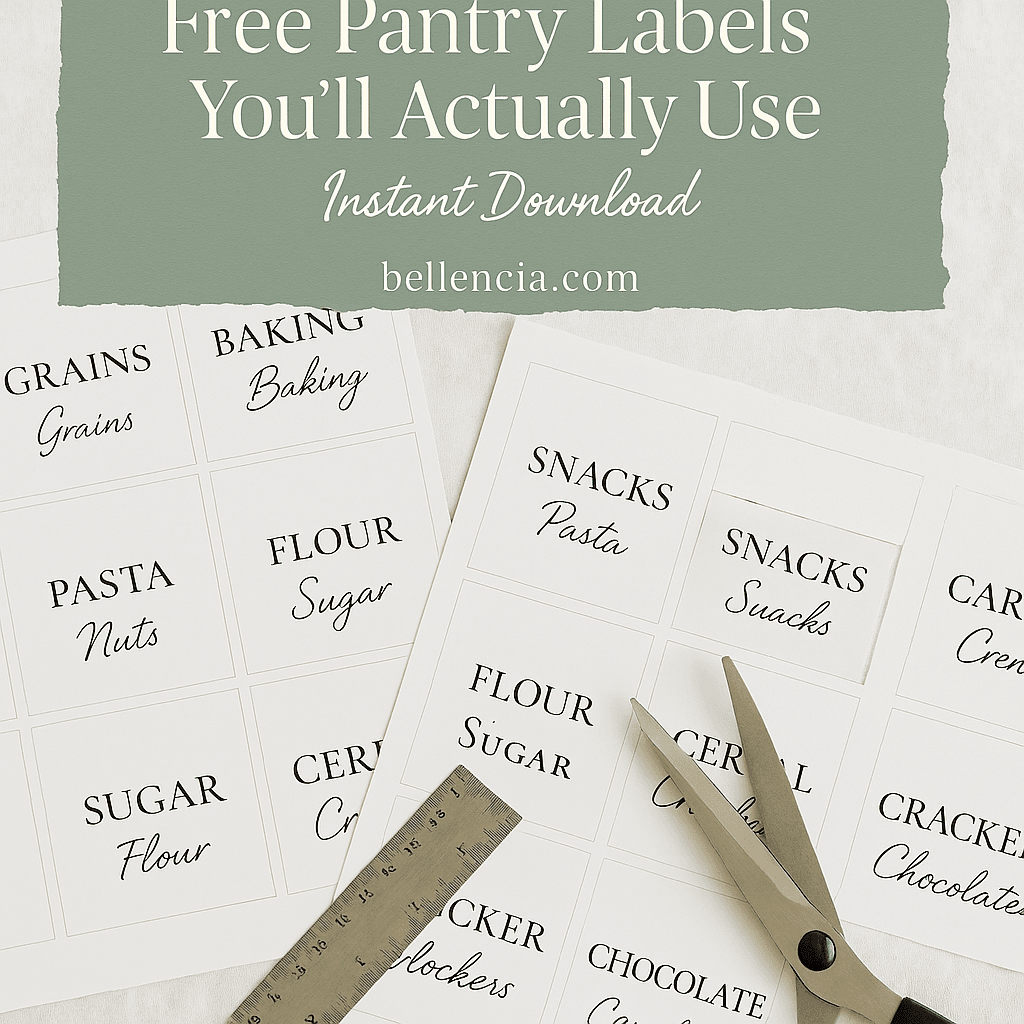
4. Download Free Pantry Label Templates to Customize
To make it easy, we’ve included free pantry label templates you can use with Canva, Word, or even Google Docs. These templates include:
- Over 50 pre-written pantry item names (from almond flour to wild rice).
- Blank editable versions so you can type in whatever you want.
- 3 aesthetic styles: Minimal Clean, Cozy Rustic, and Soft Glam Luxe.
Once customized, print them on your preferred label paper, and you’re ready to apply!
🛍️ Best Picked Product: Free Pantry Label Printable Template Bundle – includes over 50+ food label names, editable fields, expiration date stickers, and color-coded categories. Perfect for any printer and includes Canva, Word, and PDF versions.
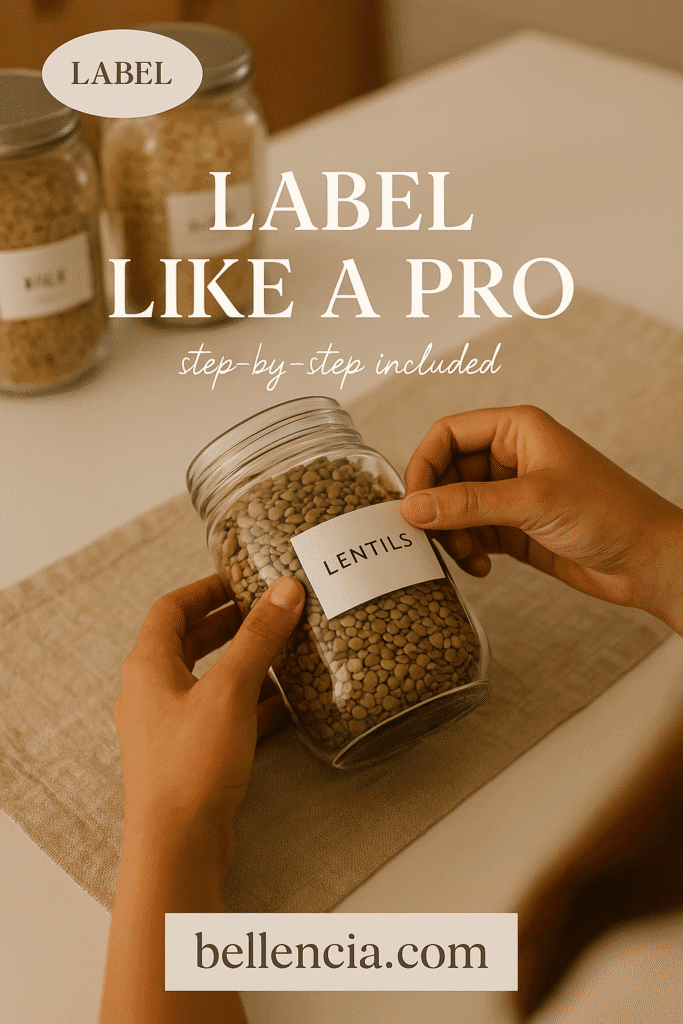
5. Apply Your Labels Like a Pro (Without Air Bubbles!)
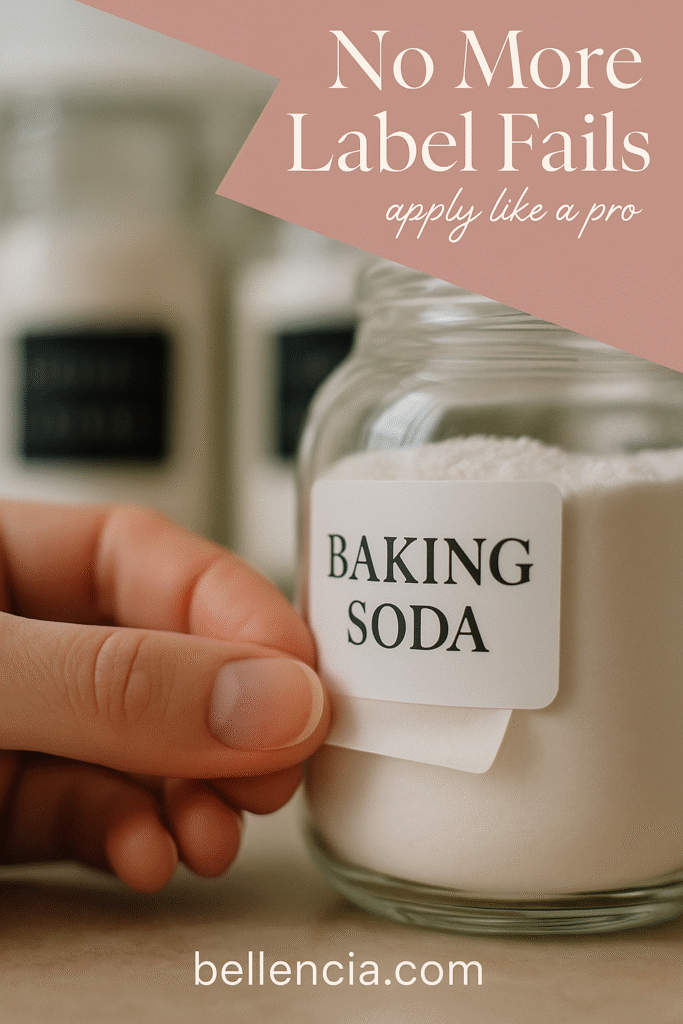
After all the hard work of designing and printing, don’t let a crooked or bubbly label ruin the look. Here’s how to apply them like a pro:
- Clean and dry the surface of the jar or container first.
- Use a ruler or level app to ensure straight placement.
- Peel slowly and press from the center outward to avoid bubbles.
- For round containers, wrap the label slightly around the edge so it doesn’t lift with use.
For added durability, cover paper labels with clear contact paper or use a spray sealant. This is especially helpful for spice jars or high-use items.
Final Thoughts: Make Your Pantry Pinterest-Worthy on a Budget
With just a little bit of effort and the right free templates, your pantry can go from cluttered chaos to a calming, curated space. These DIY pantry labels aren’t just cute — they’re incredibly functional and budget-friendly. Whether you’re creating a soft glam display for clear containers or want something simple and rustic for your farmhouse vibe, custom labels can completely transform your kitchen storage. Best of all? You made them yourself. That’s the kind of chic we love.